
Deploy to Cloudflare
Spantail is designed to be deployed to your own Cloudflare account. The recommended path is a fork connected to Cloudflare Workers Builds: after a one-time setup, every push — and GitHub’s Sync fork button — deploys automatically, running database migrations first. You never commit per-instance IDs, so staying up to date with upstream never conflicts.
If you would rather drive the deploy from your own machine, a manual Wrangler flow is kept below.
Try it locally first
Section titled “Try it locally first”To run Spantail on your machine before deploying — local D1 emulation, no Cloudflare resources:
See Configuration for every value in .dev.vars. The recommended
deploy below needs no local Node, pnpm, or Wrangler to deploy — only a GitHub account and a
Cloudflare account (a database backup during an upgrade does use local Wrangler).
Deploy with Workers Builds (recommended)
Section titled “Deploy with Workers Builds (recommended)”-
Fork the repository on GitHub (
Fork→ your account or an organization). A fork of a public repository is itself public — which is fine here, because you commit no secrets or per-instance IDs (they live in Cloudflare). If you require a private repository, push a private mirror instead and upgrade by merging from upstream; the Sync fork button only works on a real fork, though Workers Builds itself supports private repositories. -
Create the D1 database and R2 bucket in your Cloudflare account. You can use the dashboard (Storage & Databases → D1 and R2) or Wrangler:
Copy the D1
database_idfrom the output — it is the one per-instance value you supply below. -
Create the Worker from your fork. In the dashboard, go to Workers & Pages → Create → Connect GitHub, install the Cloudflare GitHub app for your fork, and select it. Then set:
- Project name:
spantail— matchnameinapps/web/wrangler.jsonc. If they differ, Cloudflare opens a pull request against your fork to reconcile the name, which would conflict with Sync fork. - Build command: clear it if a value is pre-filled — it must be empty.
- Deploy command: replace the pre-filled default with
pnpm run deploy:ci. - Advanced settings → Path:
apps/web - Advanced settings → Add variable:
D1_DATABASE_ID= thedatabase_idfrom step 2
deploy:cibuilds, applies migrations to your remote database, and deploys — all in one command. TheD1_DATABASE_IDbuild variable is injected into the build, so nothing per-instance is ever committed to your fork. - Project name:
-
Set the session-signing secret. Add a Worker secret named
BETTER_AUTH_SECRET(a value of at least 32 characters) — in the Worker’s Settings → Variables and Secrets, or with Wrangler once the Worker exists: -
Deploy. Save the setup to trigger the first build; it applies all migrations and deploys the Worker to its
*.workers.devURL.BETTER_AUTH_URLcan stay unset — Spantail derives its origin from the request (see Configuration to pin a custom domain).
Upgrading
Section titled “Upgrading”On your fork’s page, click Sync fork to pull the latest release from upstream. Workers Builds
picks up the push and runs deploy:ci — migrations then deploy — automatically. Because your fork
carries no committed per-instance IDs, Sync fork never conflicts.
Before a major upgrade, back up your database (wrangler d1 export spantail-db --remote); Cloudflare
D1 Time Travel also lets you restore
to a point in time.
Deploy manually with Wrangler
Section titled “Deploy manually with Wrangler”If you prefer to deploy from your own machine, provision the resources and deploy directly. This needs the local requirements (Node, pnpm, Wrangler).
-
Clone and install.
-
Create the resources and copy the generated D1 ID into
apps/web/wrangler.jsonc.Set the returned
database_idin thed1_databasesblock ofapps/web/wrangler.jsonc(it ships with a placeholder ID). -
Set the session-signing secret. Generate a value of at least 32 characters.
-
Apply migrations, then deploy. Order matters — migrate before deploy.
Use
pnpm run deploy(notpnpm deploy, which is a built-in pnpm command).
After deploying
Section titled “After deploying”By default the app derives its origin from each request, so links and OAuth callbacks work on the
*.workers.dev URL with no extra configuration. To pin a canonical origin — a custom domain, or a
proxy that rewrites the host — set BETTER_AUTH_URL. This and the optional social-login and
email secrets are covered on the Configuration page.
If a proxy in front of the instance applies path-scoped rules — for example a Cloudflare Access
policy that bypasses SSO for /api and /mcp — make those path matchers tolerate a doubled
slash (//api/…), or match on a prefix that covers it. A client configured with a
trailing-slash base URL can emit such a path (the plugin’s MCP endpoint URL is one it cannot
normalize itself), and the Worker collapses doubled slashes only once the request reaches it.
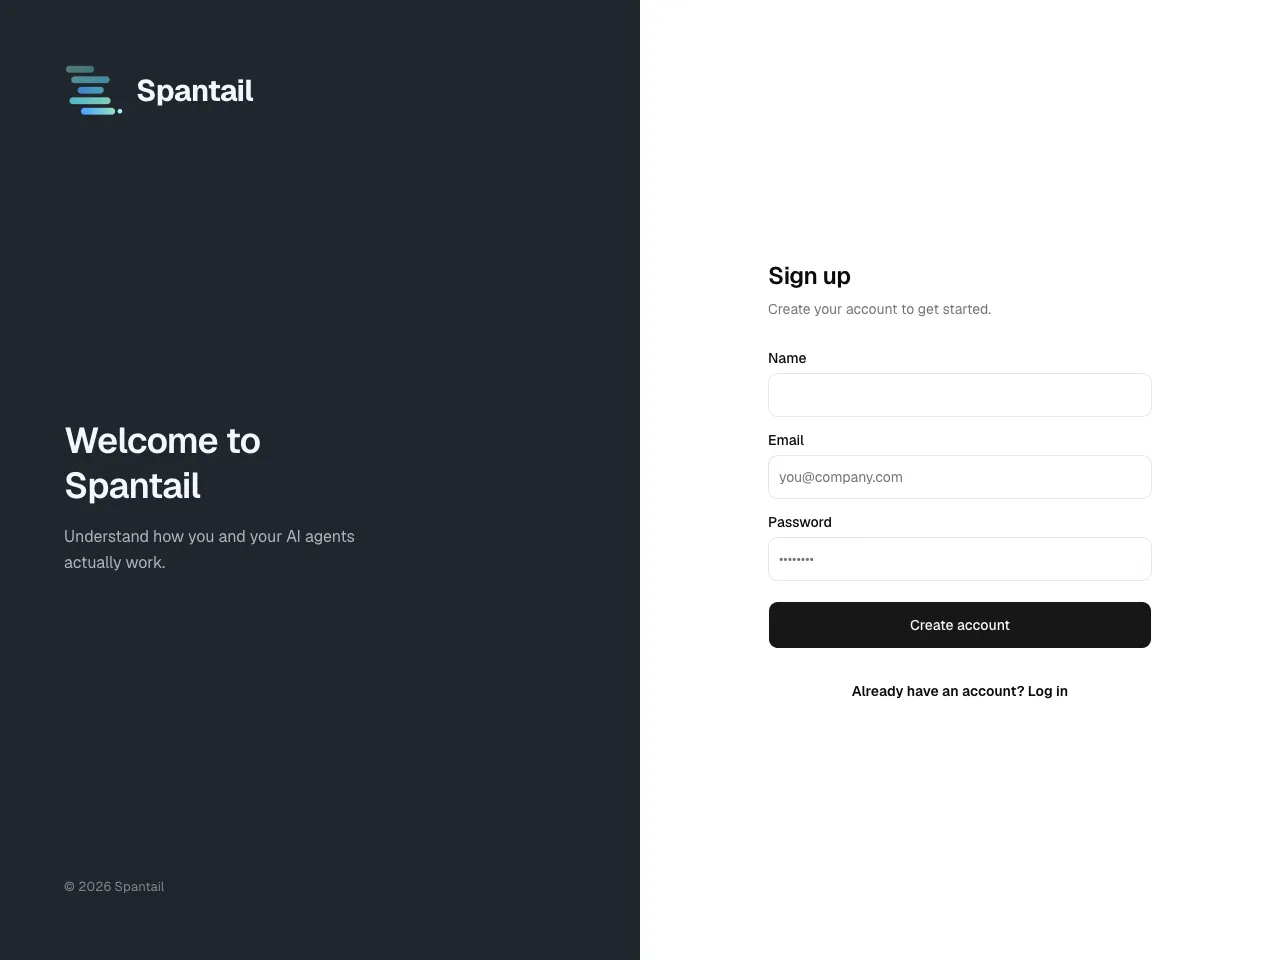
With the Worker live, the first person to sign up becomes the instance administrator. Continue to the Initial setup wizard.