
Initial setup wizard
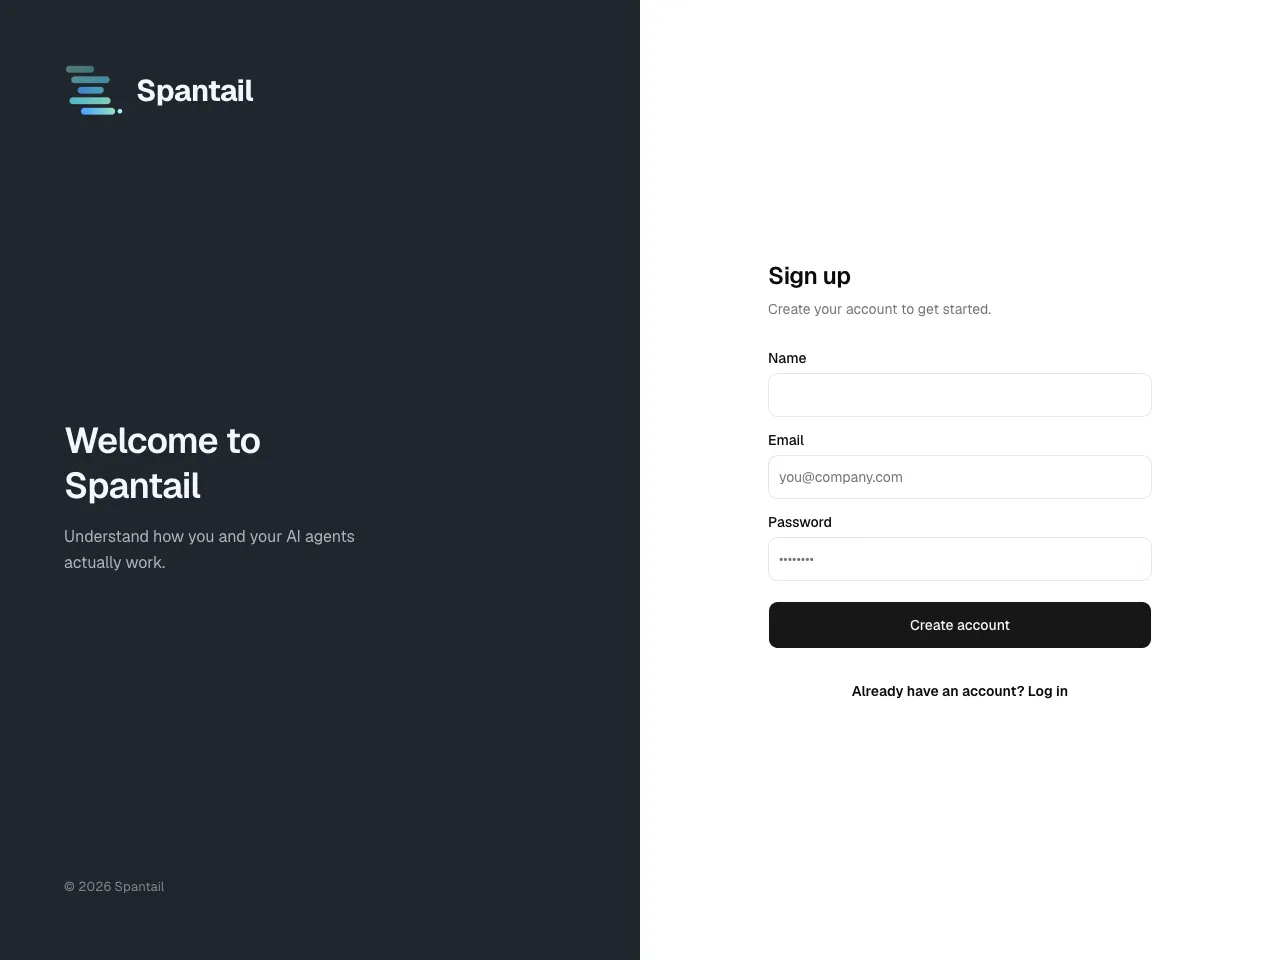
Once the Worker is deployed, the instance is empty. The first person to sign up becomes the administrator and is guided through a short in-app wizard.
Bootstrap the first administrator
Section titled “Bootstrap the first administrator”On a fresh instance, public sign-up is open until the first account is created:
- The first email + password sign-up becomes the instance administrator and is marked email-verified automatically.
- Public sign-up then closes — by default, everyone else joins by invitation. (If you enable Google login with a self-join domain allowlist, users with a matching Google email can join without one.)
- Social login stays unavailable until an administrator exists, so there is no window to claim admin on a fresh instance.
The setup wizard
Section titled “The setup wizard”On first login the administrator is taken to /setup. It has five steps; the optional ones can
be skipped and configured later from the Settings hub.
-
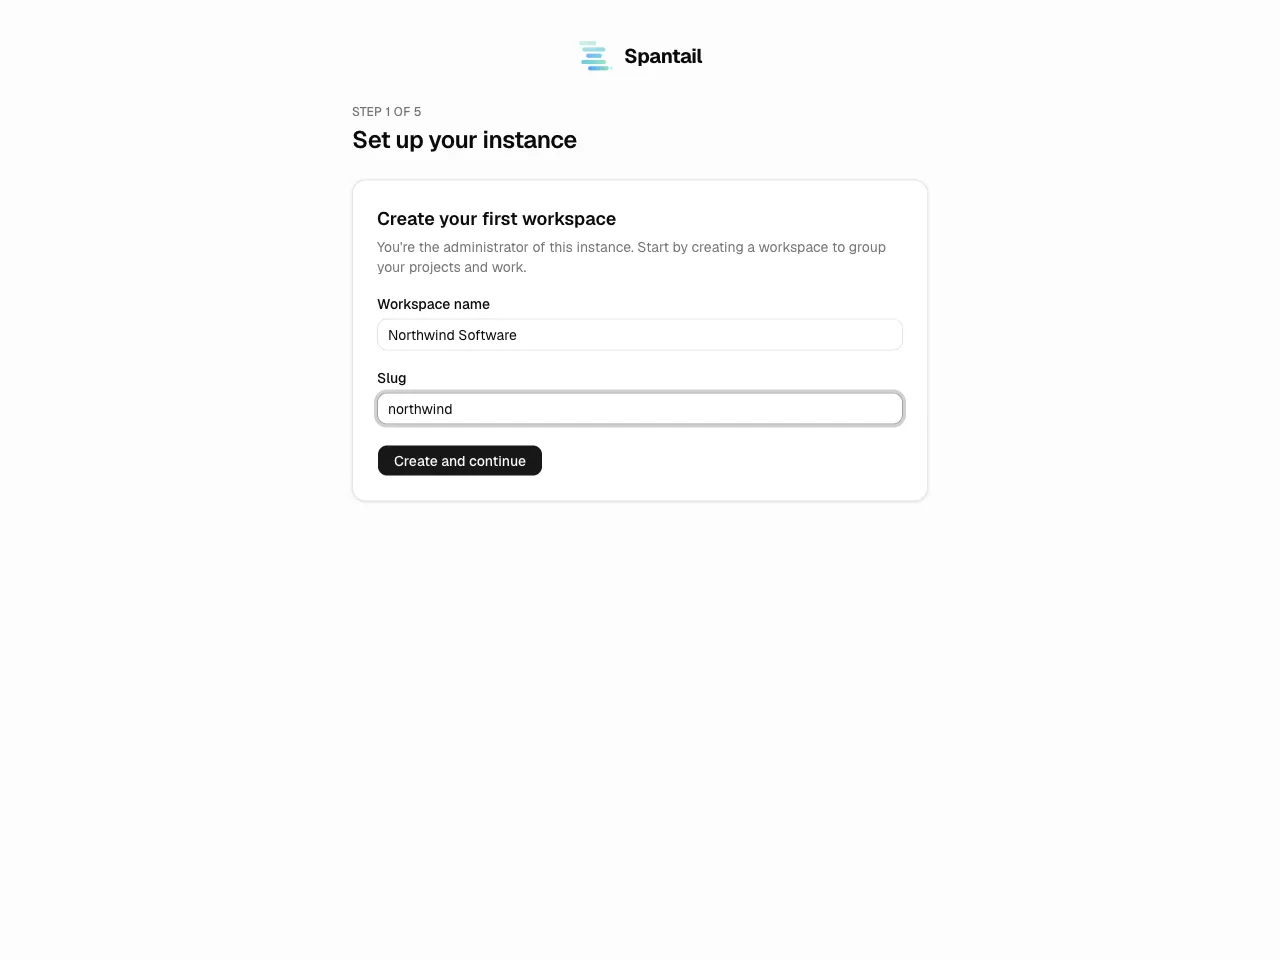
Create your first workspace (required). Give it a name and slug. Workspaces group your projects and work — one deployment serves one organization.
-
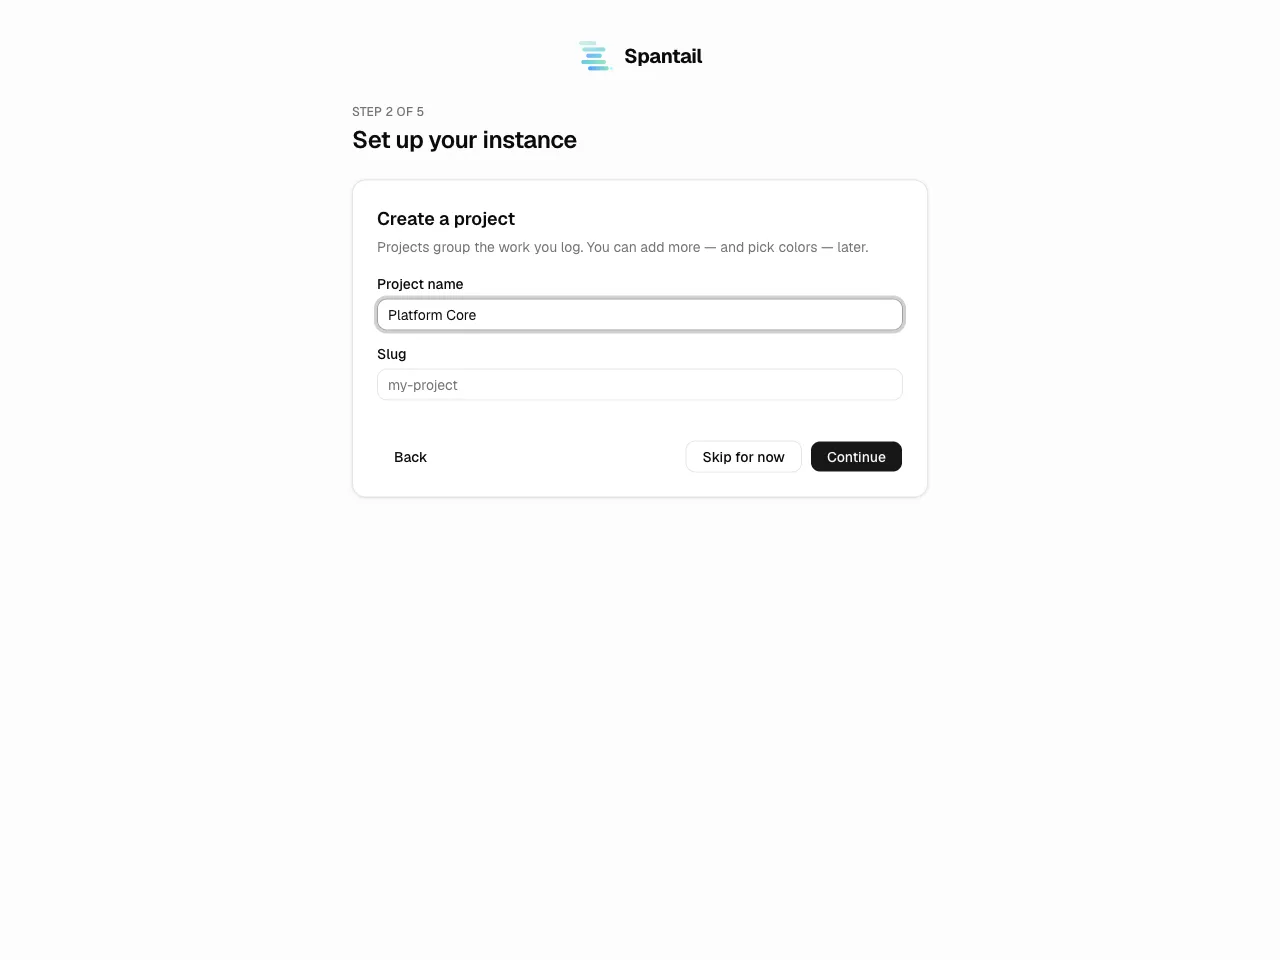
Create a project (optional). Projects group the work you log. You can add more — and pick colors — later.
-
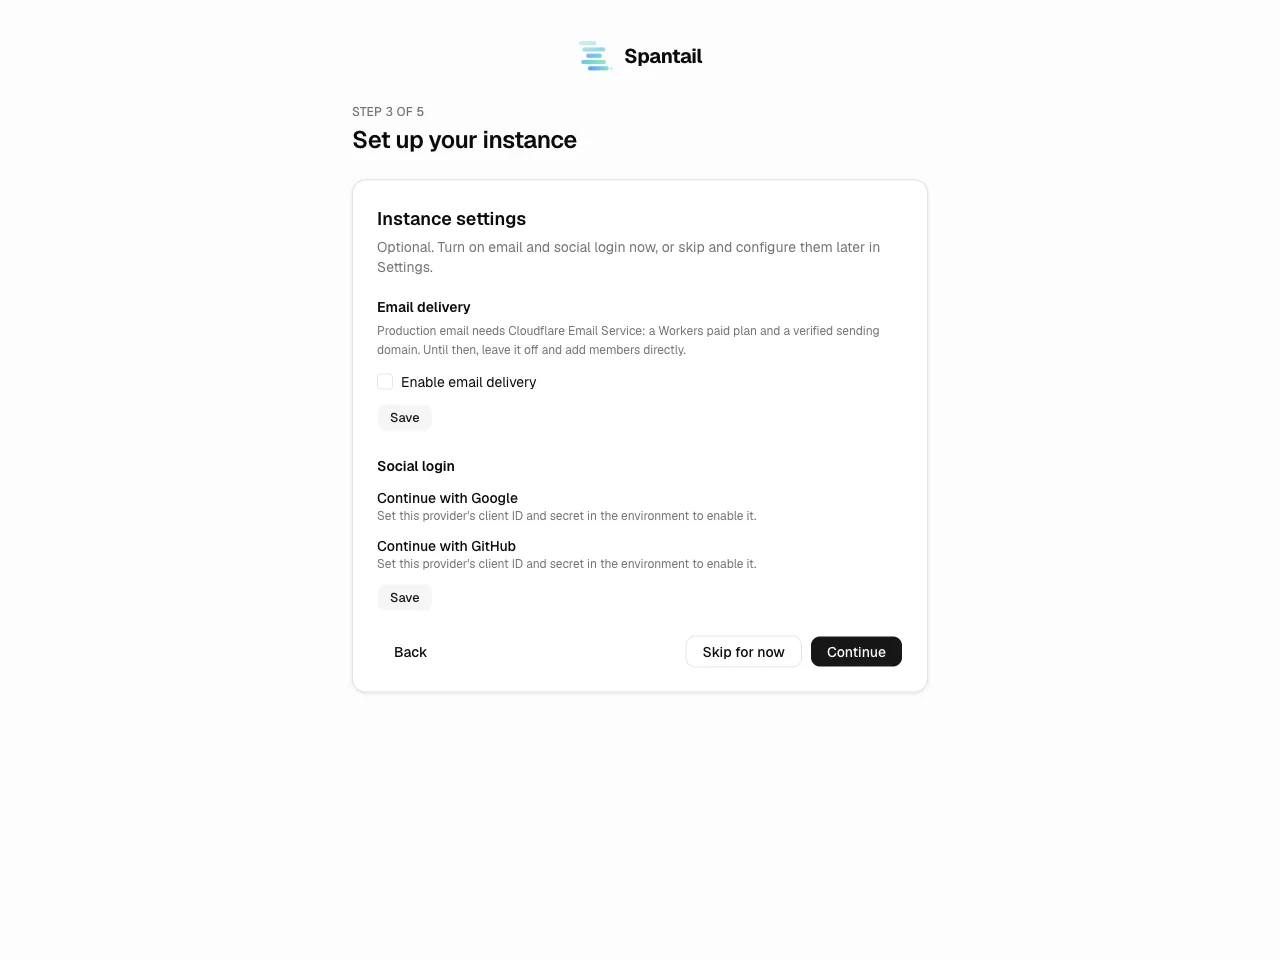
Instance settings (optional). Turn on the integrations you want now, or skip and set them up later.
- Email delivery — production email needs Cloudflare Email Service (a Workers Paid plan and a verified sending domain; see System settings → Email for the Cloudflare-side setup). Until then, leave it off and add members directly.
- Social login — toggle Google and GitHub. A provider appears here only when its client ID and secret are set in the environment (see Configuration).
Each section saves on its own with its Save button.
-
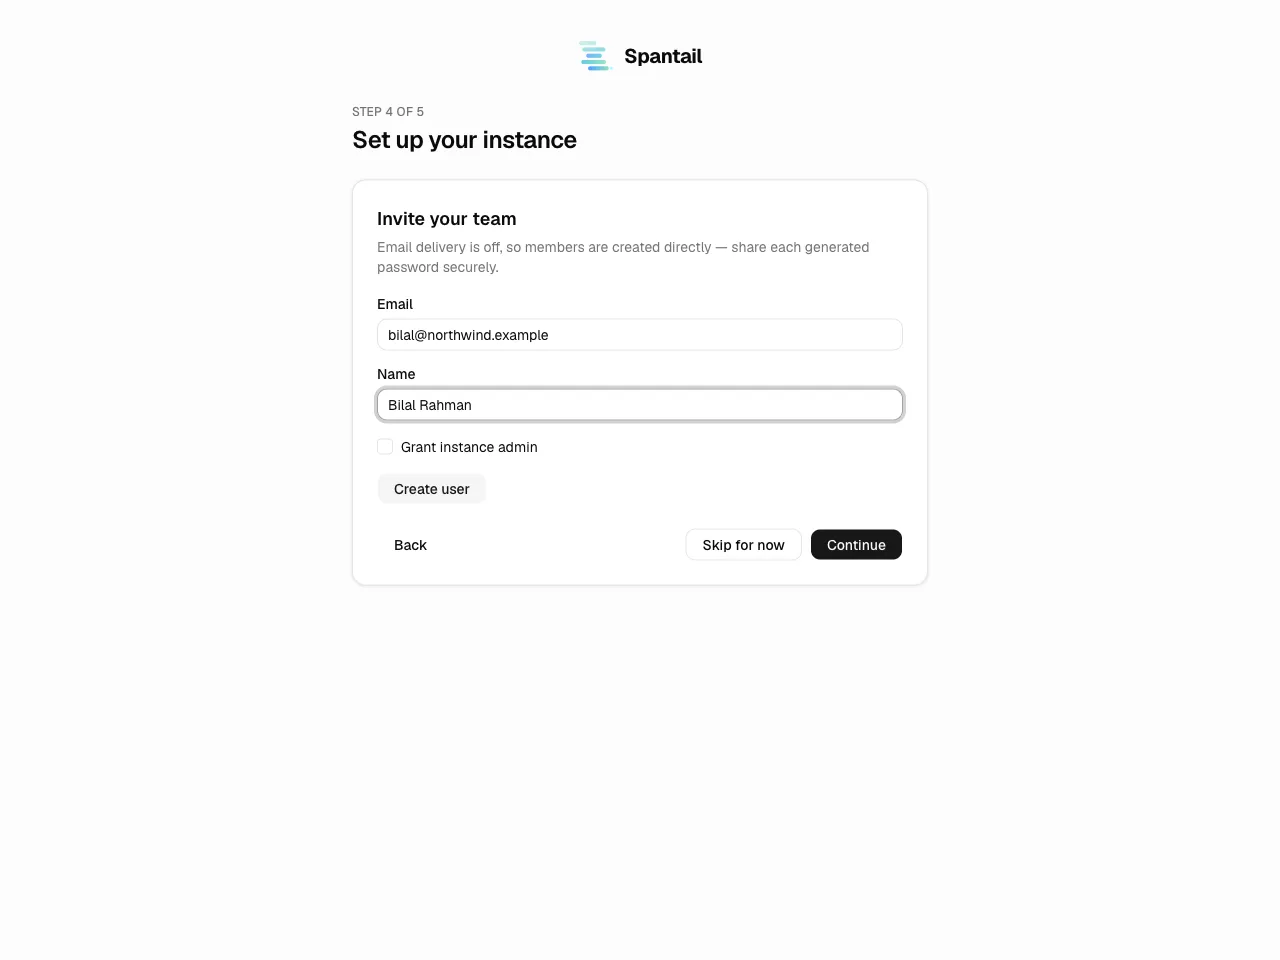
Invite your team (optional). How members join depends on whether email delivery is on.
Send an invitation email. Each person joins with their own password. Tick Grant instance admin to make the invitee an administrator.
The member is created directly with a generated one-time password shown once — copy and share it securely. Tick Grant instance admin to make them an administrator.
-
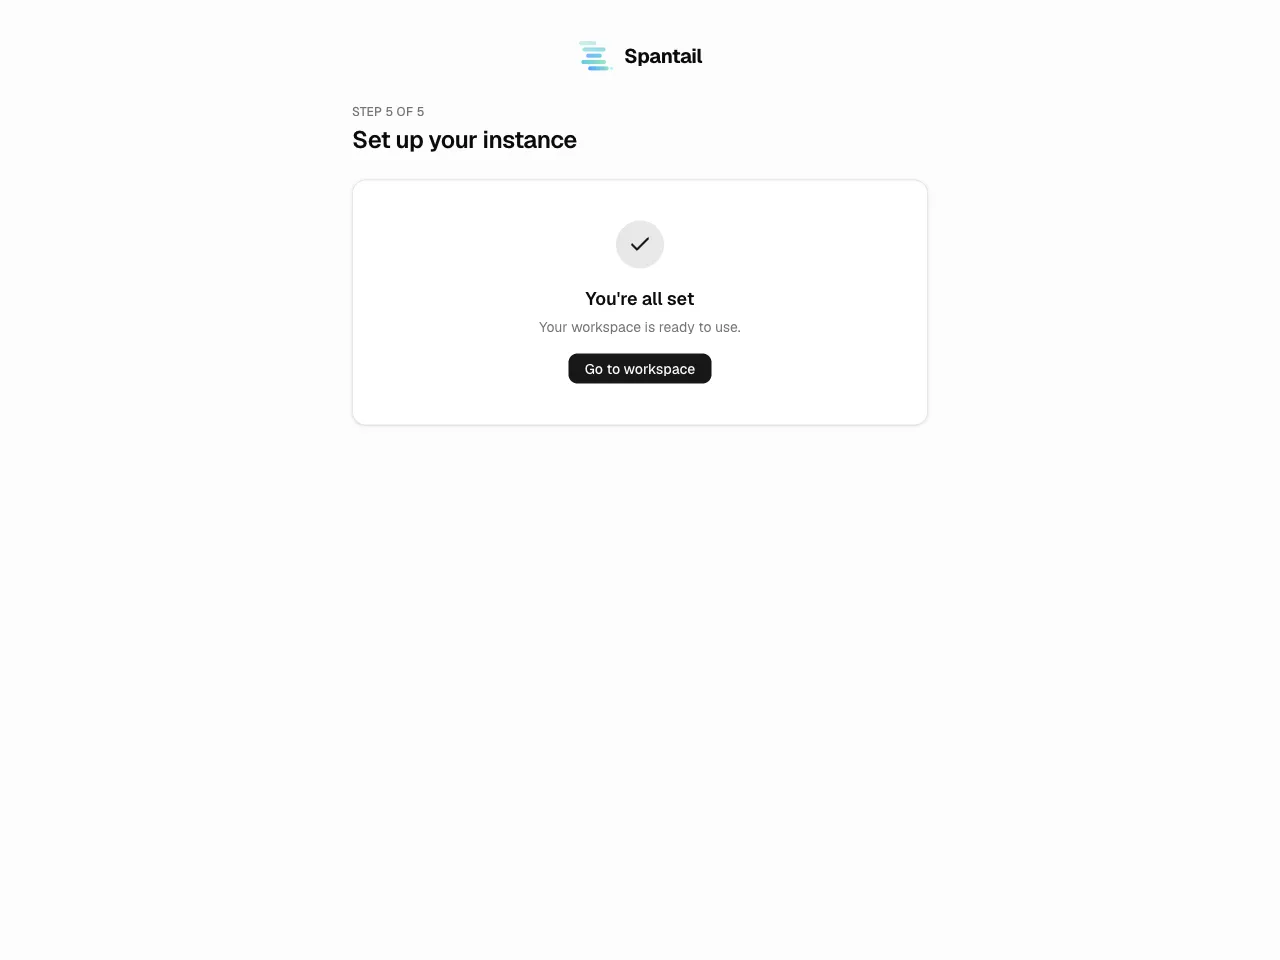
You’re all set. Finish to land on your new workspace.
After the wizard
Section titled “After the wizard”The wizard only covers the first run. Ongoing management lives in the Settings hub and is covered in the Admin guide: System settings (email and social login), User management (accounts and admin grants), and Report templates.