
User management
Settings → System → User management. Instance admin only.
This is the instance-wide list of every user. From here you onboard new people, grant or revoke capabilities, and lock or remove accounts. (Workspace membership is separate — see Members & roles.)
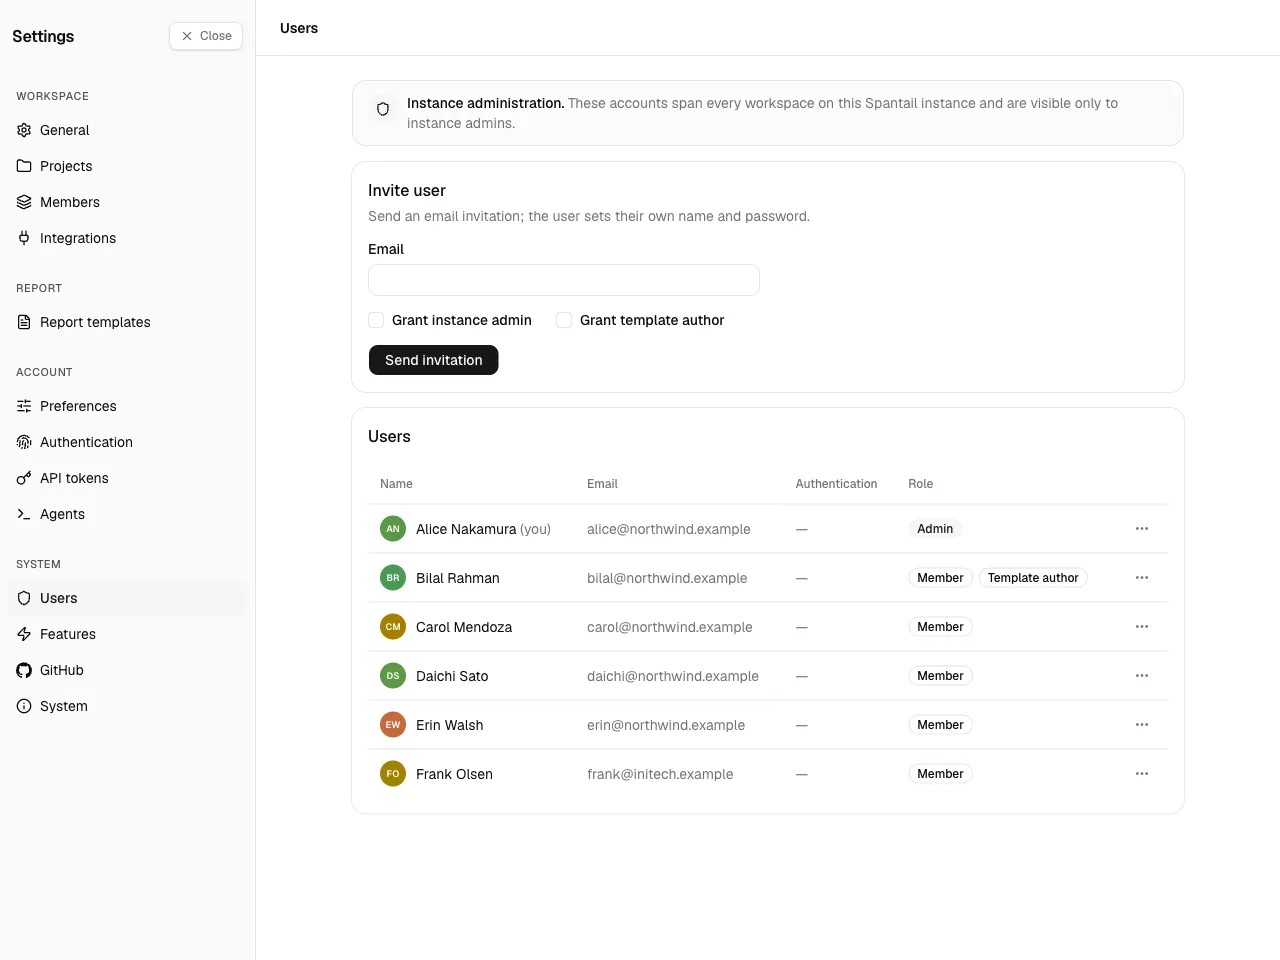
Adding users
Section titled “Adding users”How you add a user depends on whether email is configured:
- Email enabled — invite. Enter the person’s email and send an invitation. They receive a link (valid for 7 days), open it, set a name and password, and their account is ready.
- Email disabled — create directly. Enter an email and name and Spantail creates the account immediately, showing a temporary password once. Copy it and pass it to the person through a secure channel — it is never shown again.
When adding a user you can also grant capabilities up front with the Grant instance admin and Grant template author checkboxes (see below).
Capabilities
Section titled “Capabilities”Two capabilities can be granted to any user, on creation or later:
- Instance admin — full instance administration (this page, system settings, and every workspace’s containers).
- Template author — may author instance-wide report templates without being an instance admin. Instance admins manage templates already, so this is offered only for non-admins.
Managing existing users
Section titled “Managing existing users”Each user’s row menu lets you:
- Grant or revoke instance admin. You cannot revoke your own admin, and the last instance admin cannot be removed — the instance always keeps at least one.
- Grant or revoke template author (non-admins only).
- Disable or enable. Disabling locks the user out of every path — web session, API tokens, agent tokens, and MCP — and drops their active sessions immediately. It is reversible; re-enable to restore access. You cannot disable yourself or the last admin.
- Delete. Permanent. You cannot delete yourself or the last admin, and a user who owns a workspace cannot be deleted until ownership is resolved.
Reach for disable to off-board someone while preserving their data; reserve delete for accounts created in error.
Pending invitations
Section titled “Pending invitations”When email is enabled, sent-but-not-yet-accepted invitations are listed with their email and expiry. Revoke an invitation to invalidate its link before it is accepted.
For how the very first admin account comes to exist on a new instance, see Initial setup wizard in the Setup Guide.